Let's be honest. Are there any three words that strike more fear into a dog owner's heart than "nail trimming time"?
The moment the clippers come out, your dog runs and hides. Your own heart starts to race. You're terrified of cutting the "quick," causing pain and bleeding. It can feel like a stressful wrestling match that you both end up losing.
But it does not have to be this way.
Truly. With the right tools, a little bit of patience, and the correct technique, you can turn this dreaded chore into a calm, routine, and even bonding part of your dog's care. This guide will show you exactly how.
Part 1: The Prep Work (Setting Yourselves Up for Success)
A stress-free nail trim begins long before the clippers ever touch a nail.
Gather Your Tools:
Good Clippers (or a Grinder): Don't use cheap, dull clippers. Invest in a sharp, high-quality pair of either the "scissor" or "guillotine" style. A nail grinder is also a fantastic option for nervous owners, as it files the nail down gradually.
Styptic Powder: This is your non-negotiable safety net. It's a powder that stops bleeding instantly if you accidentally cut the quick. Keep it open and within reach.
High-Value Treats: Not their everyday kibble. We're talking tiny pieces of chicken, cheese, or their absolute favorite treat.
Find the "Quick": The quick is the bundle of nerves and blood vessels inside the nail. On dogs with light-colored nails, you can see it as the pink part inside. On dark nails, you can't see it, which is why our technique is so important.
Create a Calm Environment: Choose a quiet, well-lit room. Wait until after your dog has had a good walk or play session, when they are more relaxed.
Part 2: The Step-by-Step Trimming Process
Patience is the name of the game here. This is not a race.
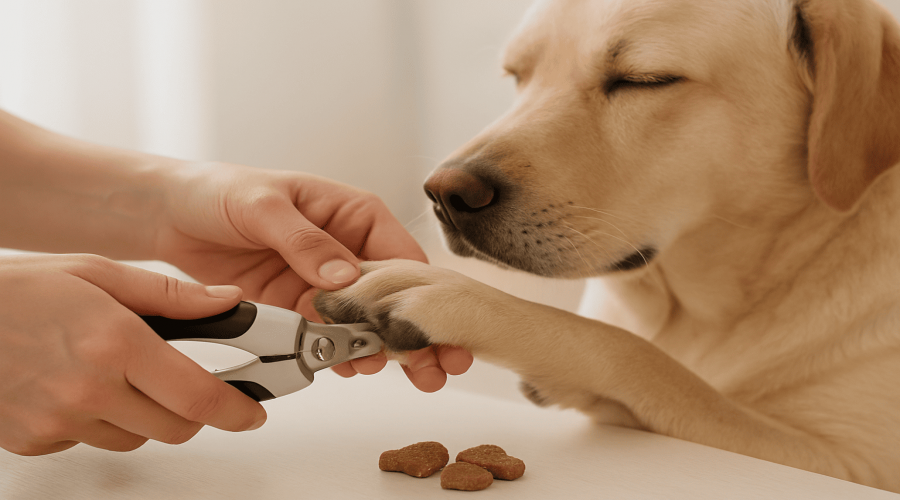
Step 1: Get Comfortable (But Secure): Sit on the floor with your dog or have them on your lap if they're small. Hold their paw firmly but gently. Don't squeeze! Just be a calm, stable presence.
Step 2: Just Touch, Don't Trim: The first few times, don't even try to cut a nail. Just touch the clippers to their paw. Then to a nail. Then give them a treat and praise them. Then stop. We are teaching them that the sight of the clippers predicts a delicious snack.
Step 3: The "Tiny Tip" Technique: This is the golden rule. Trim only a tiny sliver of the nail at a time. Imagine you are slicing a very, very thin piece of a carrot. Take just the very tip off.
Step 4: Look at the Nail After Each Cut: This is how you avoid the quick on dark nails. After each tiny slice, look at the cut surface of the nail. As you get closer to the quick, you will see a small, dark circle begin to appear in the center of the white part. When you see that little black dot, STOP. You are close enough.
Step 5: One Nail is a Victory! The goal is a positive experience, not a perfect pedicure. If you only get one nail done before your dog gets fussy, that is a HUGE win! End the session with praise and a jackpot of treats. You can do another nail tomorrow.
Part 3: "Oops... I Cut the Quick. Now What?"
It happens to everyone eventually, even the pros. Don't panic.
Stay Calm: Your dog will likely yelp, and you will feel terrible. It's okay. Your calm energy is what's most important right now.
Apply Styptic Powder: Take a pinch of your styptic powder and press it firmly onto the tip of the bleeding nail. Hold it there with gentle pressure for about 30 seconds. The bleeding will stop.
Give Love and a Treat: End on a positive note. Give them a super high-value treat and lots of love. Don't make it a dramatic, scary event.
You can absolutely do this. By transforming nail trimming from a battle into a calm and patient process, you're building a foundation of trust that will last a lifetime.